Guest post by : Jessica Picard from apprendre-le-seo-ensemble.fr
Customizable as you wish, WordPress is the most used CMS in the world to create a website. It is possible to use ready-made themes or to create your own theme
To this, you can add various functionalities with extensions, but also with the help of widgets.

By using a wordPress widget widget or more, the design of your website will become easier. You’ll save time and have a better user experience experience.
In this ultimate guide, we’ll explore WordPress widgets. What are they? How do they work? Which widgets to use and where to find them? You’ll know everything!
Enjoy your reading!
Definition of a WordPress widget
Let’s start at the beginning: what is a widget? Here is a very basic definition. A widget is a module that can be inserted into a specific specific area of the pages of a WordPress site pages, either in the sidebar (sidebar), or in the footer (footer) in general.
The advantages of widgets are that you can customize your WordPress site and display specific information for your visitors
For example, on WordPress blogs, you can often find widgets to subscribe to the newsletter, for social networks, or to list the latest articles published on the blog.

There are a lot of WordPress widgets, with similar or completely different functionalities. And most of the time, they have several parameters that are very easy to adjust
So you can easily push the customization of your blog very far and have a totally unique website. And that’s what makes WordPress so beautiful and successful!
The widget zones
These are dedicated to these modules. Therefore, widgets will be added in these specific areas.
Depending on your theme, you have more or less possible areas, but at least two:
- the sidebar (side column) ;
- the footer (footer).
The sidebar
The sidebar is a very interesting area, because you can use it to promote specific content. For example, you can place a registration form for your newsletter, your links to social networks, the latest or most popular articles of the blog, some affiliate links..
On the other hand, the widgets placed there will only appear on your blog and your articles (possibly on pages, if your theme allows it), but not on the home page.
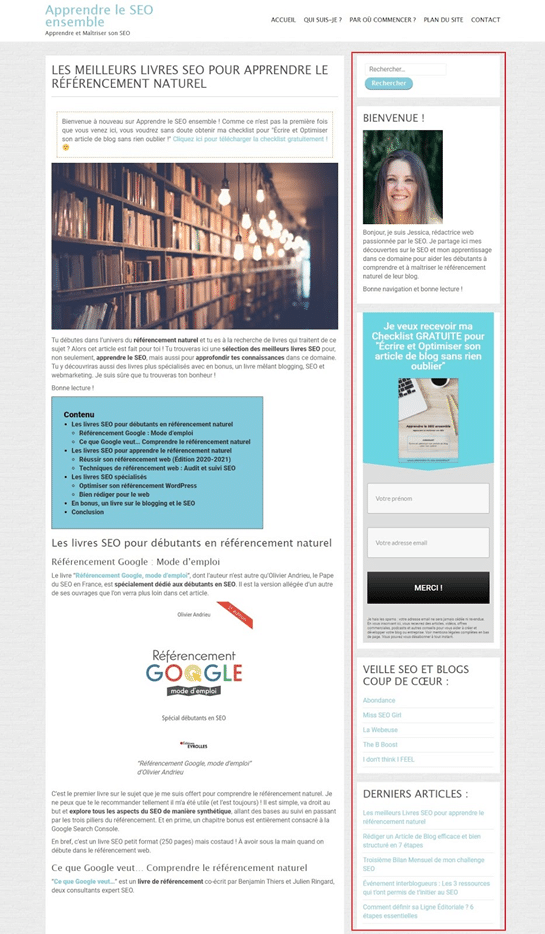
Note that with the mobile version, the sidebar is moved and is now between the comments area of the article and the footer.
The footer
Unlike the sidebar, the widgets in the footer are visible on the whole site. You might as well take advantage of it to put the important information there!
This can be :
- a link to access your “Contact” page ;
- your e-mail address
- your social networks ;
- the categories of your blog;
- a link to your Youtube channel;
- your contact details and opening hours if you have a physical store;
- a map ;
- the main categories for an e-commerce site;
- a photo gallery or simply a photo ;
- ..

As you can see, the possibilities are numerous!
Create a new widget area
Although most themes offer several widget areas, you may want tointegrate a widget in a particular place in your theme, without changing it
You should know that this is possible! Indeed, it just requires to create a new widget area. However, this creation involves typing some code. If you are comfortable with coding, you will find on this page the information you need to create your new WordPress widget area
If, on the other hand, coding scares you, you can ask a specialized WordPress web developer to help you.
Now that we’ve covered the generalities, let’s get practical!
Adding a widget to a WordPress page
To add a WordPress widget to a page, you have the choice of using :
- the administration interface
- the customization tool.
Adding a widget via the WordPress administration interface
Are you logged in to your interface? Ok, here we go!
From the dashboard, go to the tab Appearance > Widgets which is located in the left column. Let’s see what the widgets page looks like:
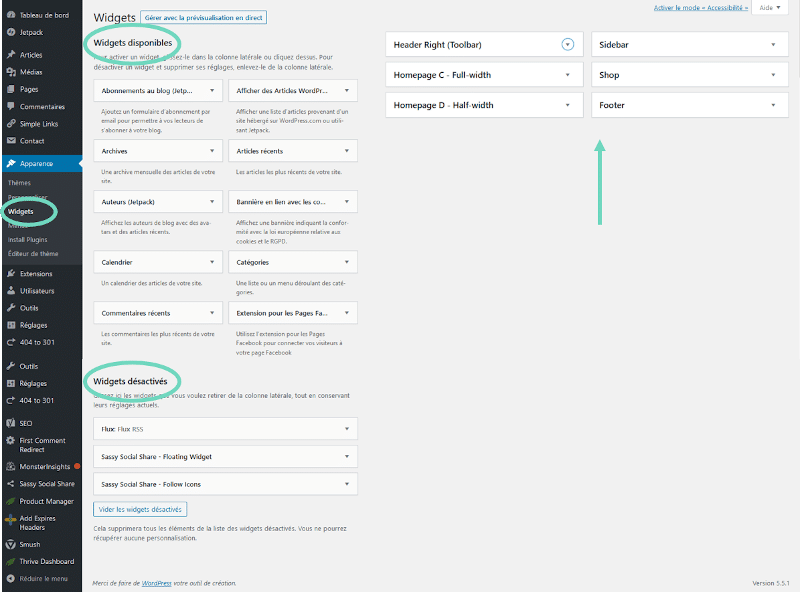
This page consists of:
- Available widgets (left): list of default WordPress widgets, plus those from your theme or extensions;
- Widget areas of your theme (on the right of the image): as we saw before, there can be more or less zones depending on the theme, here for example, there are 6 including the sidebar and the footer;
- Disabled widgets (at the bottom of the image) which is an area where you can temporarily remove widgets while keeping their settings.
From there, how do you add a widget to a widget area? Here again, you have a choice!
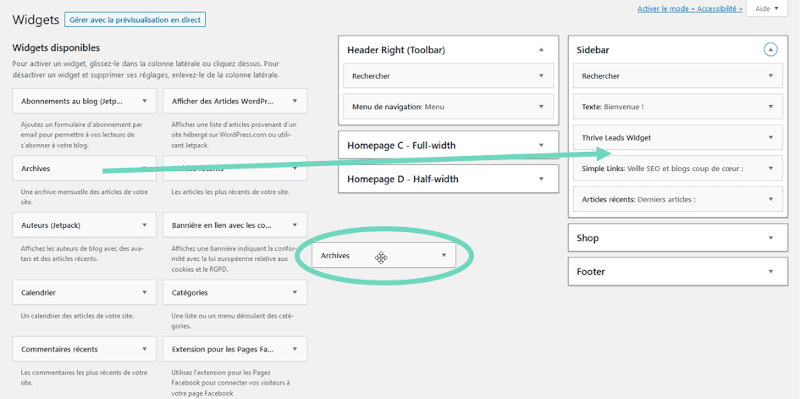
The first way is to drag and drop using your mouse. By holding down the left mouse click on the widget you want to insert, you move it from the “Available widgets” column to the desired area. And that’s it! Super simple, isn’t it?
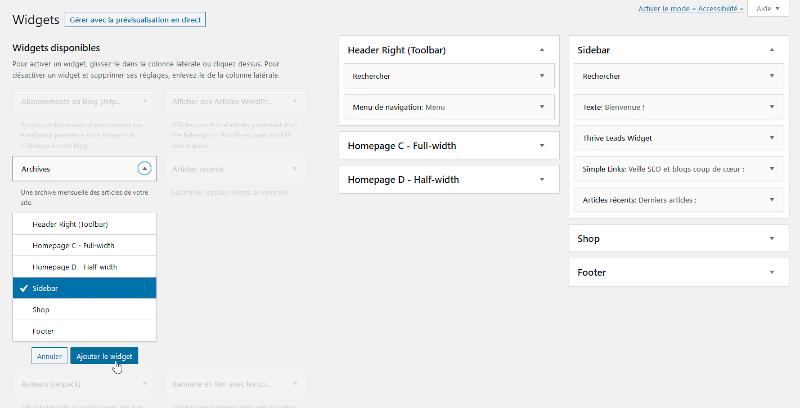
The second option is to click directly on the name of the widget of your choice and select the widget area from the drop-down menu. And finally, click on “Add widget”.
The last method is more for visually impaired people, but nothing prevents you from using it if you find it more convenient! Here, you need to activate the “Accessibility” mode.
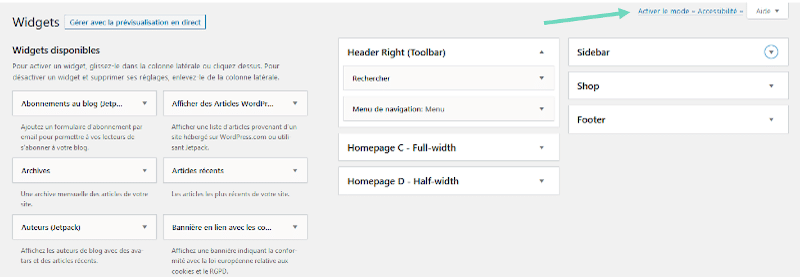
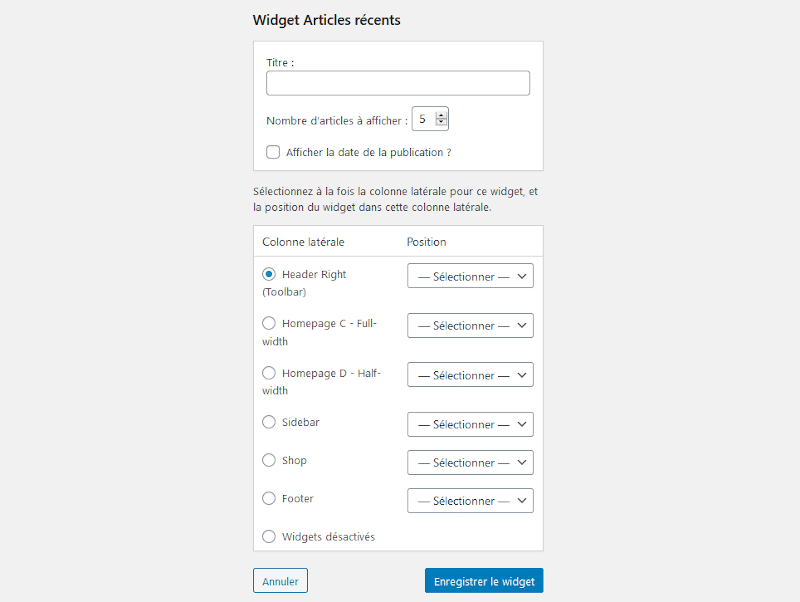
Once this mode is activated (click on the link at the top right), the widgets appear differently. An “Add” button is next to the widget name. By clicking on it, a window opens in which you can choose the widget area and set the different parameters. All that remains is to save.
Once you have set up your widgets, remember to check that they fit well with the layout and design of your website!
I just showed you how to add a WordPress widget from the user interface. But the topic wouldn’t be quite complete (this is an ultimate guide to widgets after all!) if I didn’t tell you about the customization tool for inserting them too.
Integrating a WordPress widget from the customization tool
To access this tool, you can click on Appearance > Customize in the left column of the WordPress dashboard. Alternatively, it can also be accessed through the administration bar at the top of the website screen, provided you are logged in

The tool opens and you have access to a menu with several tabs on the left and the preview screen on the right.
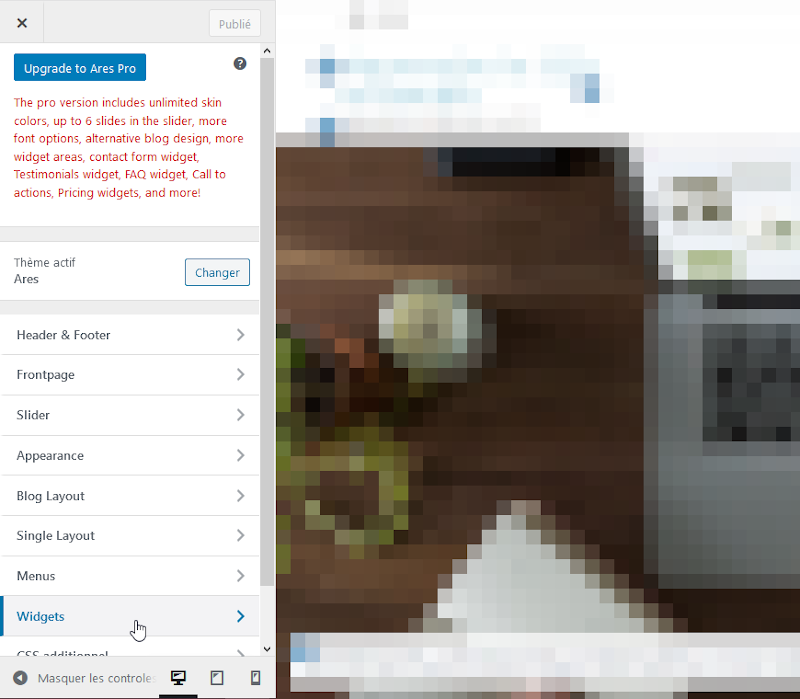
By clicking on thewidgets tabtab, you will see a list of the widget areas present on the page displayed on the screen. Then by selecting the desired area, you will have access to the widgets already present and the ” Add a widget “. Click on it to access all the available widgets and choose the one you want to insert.
Depending on the theme, the order may vary. In fact, you can reach the list of modules directly after clicking on the Widgets tab and you will only have to select the widget area.
In any case, as soon as you have chosen the widget to add, you will see it appear in the preview screen on the right. As you can see, this is where the interest of this method lies. You can see the final result at a glance!
For reorganize the widgets and put them in the order you want, you just have to select them, then arrange them as you want by dragging and dropping. You also have the option to click on “Reorder” at the bottom of the widget list.
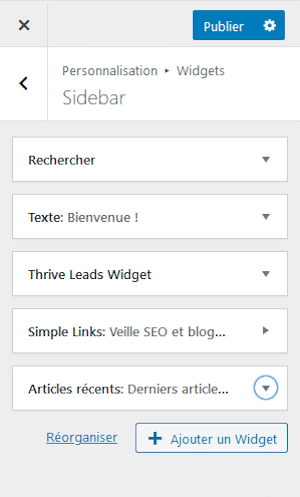
Once you have finished adding and reorganizing, you need to save your configuration. To do so, click on ” Publish “at the top of the column. The changes will only be effective if you do so!
Now that you’ve seen the different ways to add a widget in WordPress, it’s up to you to test them out and choose the one that suits you best!
Adding a WordPress widget to a single page
Maybe you want tohave a widget on a single page of your site? With WordPress, it’s possible! This CMS is really great!
Follow me, I’ll guide you.
First, do you know Gutenberg ? Yes, good, because we’re going to need it! If not, Gutenberg is the new page and post editor for WordPress. It allows you to edit pages with blocks and a lot of options. Since version 5.0 of WordPress, it is installed by default.
Then, go to the page (or post) where the widget will be added. Insert a new block in the desired place in your text, then choose the block type Widgets.
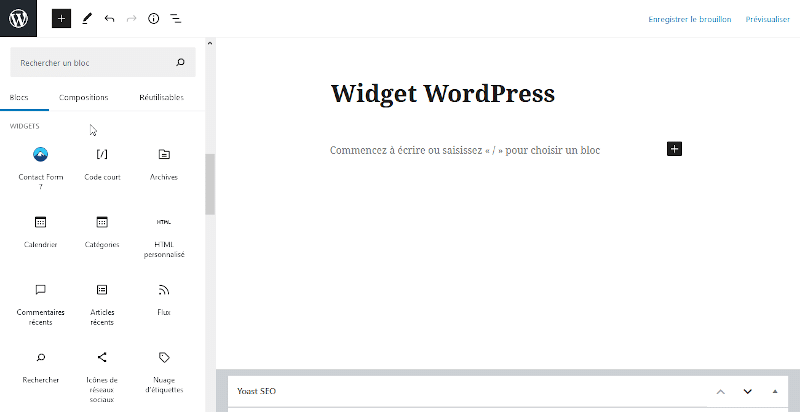
You will then have a list of available modules that you can integrate into your content. This can be a contact form on your “About” page for example, or a list of your latest articles.
I’d like to end this chapter by giving you a piece of advice. Avoid using too many widgets on your website. The more widgets you have, the less visible they will be. As they say, too much information kills information! Select them carefully, integrate only two or three widgets per area and eliminate the superfluous.
Managing Widgets on Your WordPress Site
If you take a close look at WordPress widgets, you’ll notice that they all have something in common. They all have links Delete and Close links, as well as a Save.
- Delete by clicking on this link, you remove the widget with all its settings from the area where it is located.
- Close close: This link will collapse the widget window.
- Save as the name suggests, this button is used to save the settings made to the widget. Remember to click on it as soon as you have completed your settings.
Having said that, let’s now see what you can do in terms of managing your little modules. You know how to add them, that’s a good start. Now let’s see how to modify, remove and delete widgets. You’ll see that it’s just as easy as adding them!
Editing a widget in WordPress
First of all, if you want to change the organization of your widgets within a zone, or move a widget from one zone to another, it’s very easy with the drag and drop” technique. With the “Accessibility” mode, you have to use the arrow on the right of the widget name and select the right option.
Then you can modify a widget by changing its parameters. Some of them do not have any. Others, on the contrary, have settings such as the widget title, the number of articles displayed or to exclude pages..
For the most complex widgets, the configuration takes place on a dedicated page.
In fact, you have to find the widget you want to modify using one of the methods we have seen before. Then, after clicking on it, you can see the different settings of the widget. All that is left to do is to set the parameters as you wish and save
Remove a widget from a widget zone
It is very very simple to remove a widgetas you will see!
You have probably tested several widgets and now want to remove the ones you are not satisfied with. To do so, go to the widget in question and click on ” Remove “. That’s it! The widget is removed from the area.
However, there is a little subtlety. When you do this kind of deletion, the widget is automatically put back in the “Available Widgets” list and all its settings are removed
Let’s say you just want to remove a widget for a whileto test another one for example. Then you will lose all settings. If the widget has no or very few settings, then it is quick to redo them. This is not too serious
On the other hand, if the widget is more complex, you will spend time to set up everything again as you want. In this case, it is better to delete the widget by placing it in the list of ” Disabled widgets “with the “drag and drop” technique. The widget in question will then be inactive, but will keep its settings for future use!
Managing WordPress widgets is now a breeze! But we’re not going to stop there, are we?
Finding the right widget for your site
Would you like to know how to find the right widgets for your site? Yes, well, you should be interested in the following.
There are a lot of widgets in WordPress, you could easily get lost looking for the perfect one!
To find the one that will suit you best, here are a few steps to follow to help you:
- List what you needlist what you need, i.e. define the features and design that the widget should have.
- Look at the widgets installed by default in the CMS. Is there one (or more) that matches? Yes, so test it to make sure it’s a good fit. If it turns out that it doesn’t, you move on to the next step.
- A extensions directory is also at your disposal. Through this library, you can find widgets or plugins that also contain these small modules. To access it, go to Extensions > Add (left column of the WordPress dashboard), then type in the search bar the terms that describe your need.
- You’re not thrilled with the free extensions. Then look for paid plugins. Don’t be afraid to ask for recommendations and read reviews before buying one that might not work out in the end!
One last point, remember to always test the added widgets to make sure that everything is working as it should in terms of widget functionality, layout and design.
The default WordPress widgets
Following the installation of WordPressoffers you the possibility of installing default widgets. there are 17 in total, which we will take a closer look at. This will allow us to see their usefulness as well as the options they contain.
1. Archives
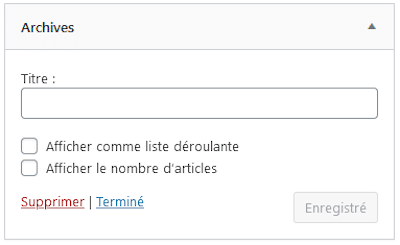
This WordPress widget allows you to display the archives of articles published by month. Its purpose is to simplify navigation by date. By checking the first option, you will have the archives as a drop-down list and the second option allows you to indicate the number of articles by month
Personally, I don’t find it useful or practical. Sorting and searching articles by date is not ideal for the user experience in my opinion.
2. Recent Articles
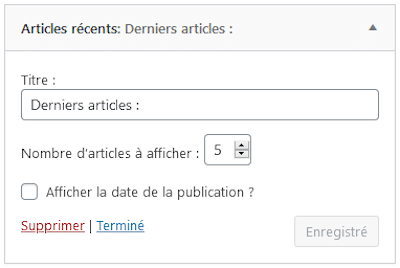
Once enabled, the “Recent Articles” widget displays the latest articles published on your blog. With this example setting, the last 5 articles will appear as links. In addition, you can choose to display the date or not. This widget is usually added to the sidebar.
3. Calendar
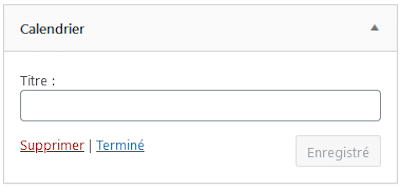
Here is the “Calendar” widget and its very minimalist setting! What does it do exactly? Well, it displays the publication calendar of the articles. Quite honestly, I don’t see the point of it, nor its usefulness. I’ve never had the opportunity to see it on any blog until now! Probably a leftover from the first versions of WordPress..
4. Categories
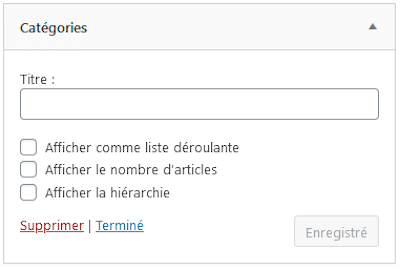
Want to display your different categories somewhere else, in addition to your menu? Then this is the widget for you! For example, it can be inserted into the footer to help your readers navigate more easily without having to scroll the entire page to access the menu. Another example, you have a lot of categories and can’t put them all in the menu. If you want them all to be visible, use this widget!
5. Recent comments
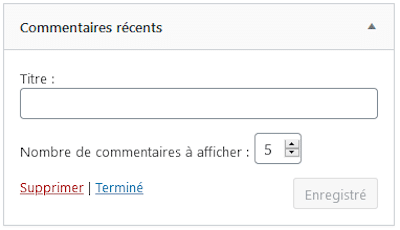
As its name suggests, the “Recent Comments” module allows you to display the latest comments of your articles. Definitely one of the least useful of the basic widgets!
6. Feed
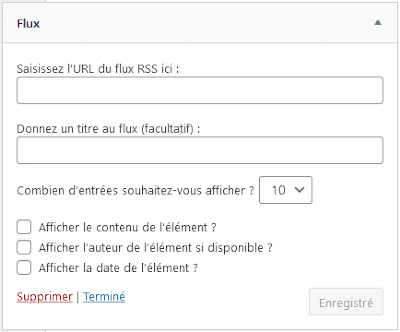
This WordPress widget is used to display on your site the content of an RSS feed from another site. For those of you who don’t know about RSS feeds, it’s a list of articles from a blog or a news site. By using this widget, you run the risk of sending your readers to that other site. Unless that’s the intent, avoid using it.
7. Gallery
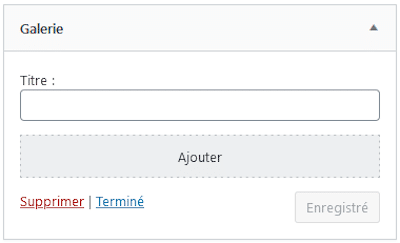
The “Gallery” module allows you to add multiple images at once to create a gallery of thumbnails.
8. Custom HTML
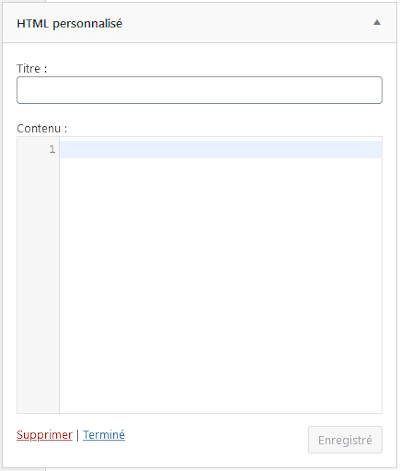
With this WordPress widget, you can easily insert HTML code in a widget area. No special settings, just give a name (not mandatory), type the code and save
9. Image
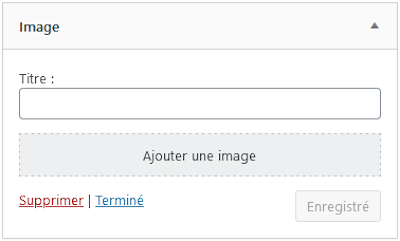
The “Image” widget is used to insert an image from the media library. Moreover, it is possible to add a link to another page. It is a great widget to put banners or visual inserts with an affiliate link, for example.
10. Navigation menu
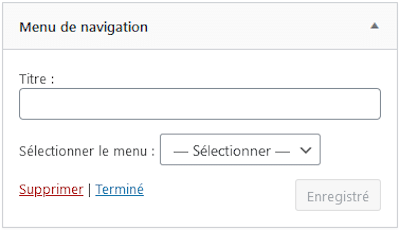
This widget will allow you to display your menu in the header (top of page). If you have created it beforehand in the Appearance > Menus. Select it in the drop-down list and save. A must-have widget!
11. Meta
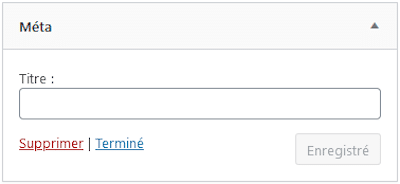
This widget will display a small list of links pointing to the login page of your WordPress site, the WordPress.org site, and your RSS feed link. It has no options except for the title. This widget is not very interesting in my opinion.
12. Tag cloud
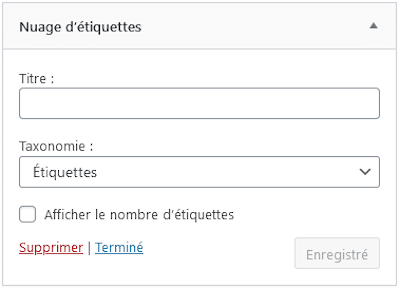
The “Tag Cloud” widget displays a list of tags used in your blog in the selected area. Each tag will have a different size depending on its occurrence. You can also choose to use categories instead of labels thanks to the Taxonomy drop-down menu. You can also limit the number of tags to be displayed if you have many on your site and keep only the most important ones.
13. Pages
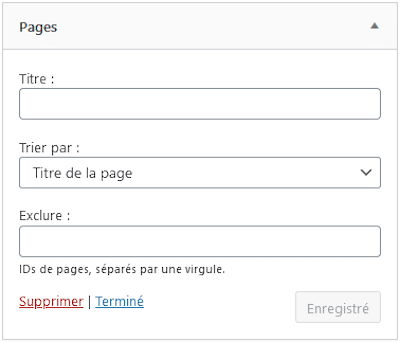
This WordPress widget lists all the pages on your website. As for the options, you can sort the order in which the pages appear and exclude some of them. This is very useful for hiding thank you and bonus download pages on blogs for example
This widget is usually placed in the footer to show important pages such as legal and privacy policy, but which do not belong in the main menu.
14. Search
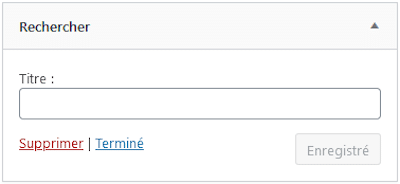
With this widget, you can insert a search bar on your pages. It may happen that some themes do not offer it as a standard feature. In this case, it’s worth installing this widget in the sidebar to improve the UX.
15. Its
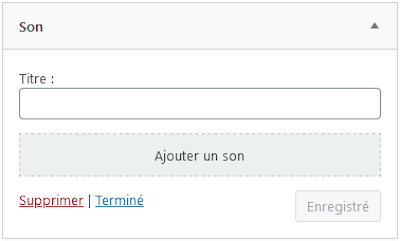
Very interesting WordPress widget since it allows to embed a clickable audio file. Ideal for podcasts!
16. Text
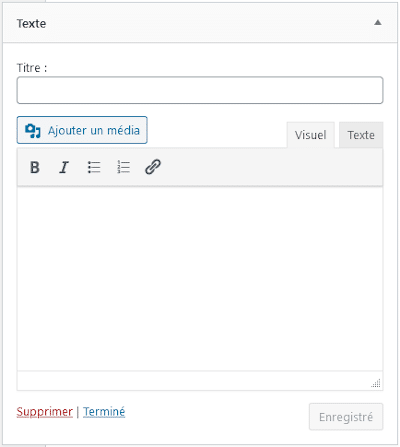
Among all the basic widgets, this one is without a doubt the most used! The “Text” widget allows you to add rich text to your sidebar, for example. It is a mini-text editor with which you can format your text and add images or links.
17. Video
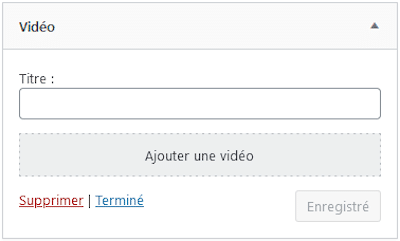
Last in the list of default WordPress widgets, this widget is designed to easily insert a video into a widget area. The video file can be uploaded from the media library or Youtube. Perfect to showcase your your Youtube channel !
Widgets from the extensions directory
Now let’s take a look at the extensions directory to get some interesting widgets for your WordPress site. As I mentioned above, the extensions directory contains thousands and thousands of extensions, but also widgets (free or paid). In fact, many extensions also contain widgets. So the choice is just enormous!
To access them, the path to follow is the following Extensions > Add from your WordPress administration interface.
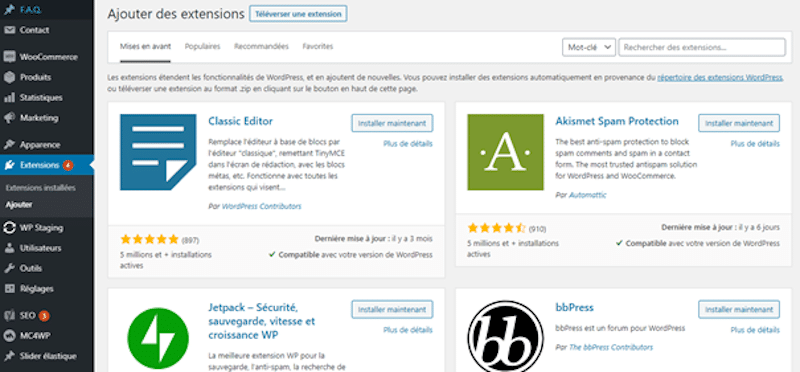
Using the search bar, you can enter the terms that describe what you need or the name of the widget if you already know it to find it.
I’d like to take this opportunity to give you some advice on choosing a extension or a widget via this directory:
- Study its features does it meet your needs? Is it versatile?
- Check for updates when was the last update? If possible, avoid choosing an extension that has not been revised for more than a year to prevent any security problems.
- Check the compatibility with your CMS version.
- Look at the rating how well is it rated? How many downloads?
- Similarly, look if it has a technical support.
- Finally, check its adaptability can it adapt to your theme and layout? Does it interfere with your site design?
And as a reminder, always test the WordPress widget after installation to avoid any problems!
Before closing the widget topic, I’ve prepared a list of some popular widget plugins from the extensions directory that you might find interesting.
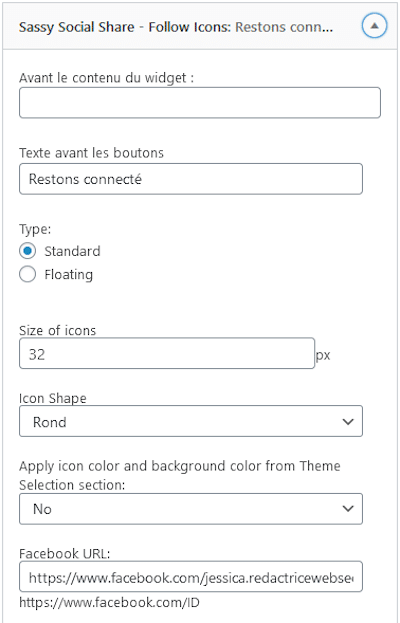
1. Sassy Social Share
This is a free extension for sharing on social networks. It contains several widgets, including one that displays the icons of the social networks of your choice. The settings will allow you to customize the buttons and connect them with your different accounts.
2. YouTube Gallery by YotuWP
This extension extension goes further than the basic Video widget as you can insert a gallery of YouTube videos on your WordPress site pages.

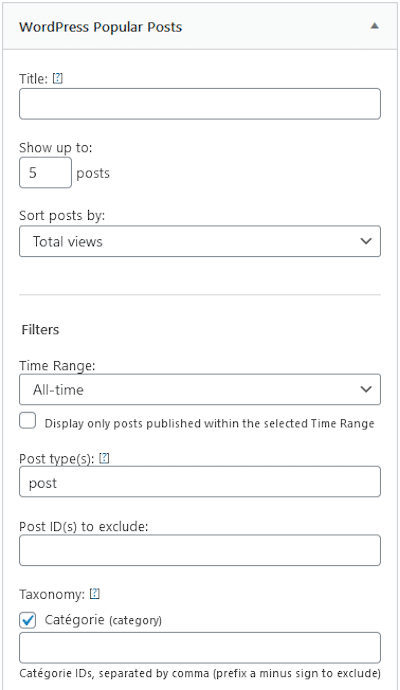
3. WordPress Popular Post
WordPress Popular Post is a free widget. With it, you can submit to your readers a list of your most popular posts. There are many options, so you can customize it as you see fit.
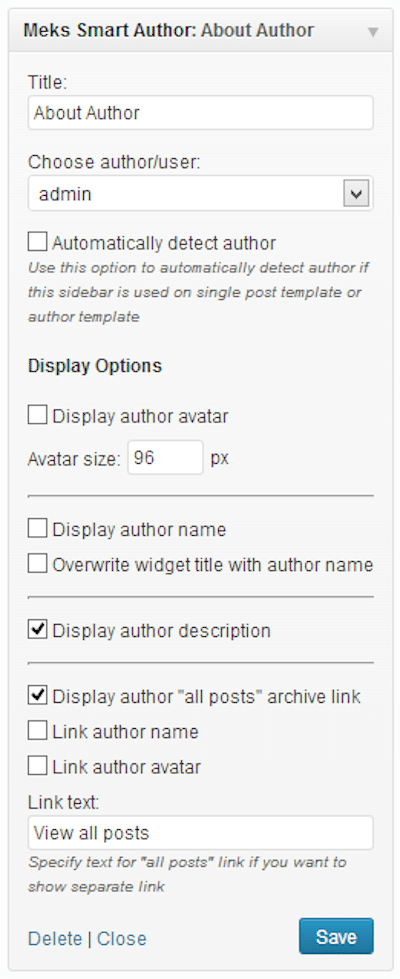
4. Meks Smart Author Widget
If you have several authors contributing to your blog, this widget widget may be of interest to you. It allows you to insert a short and catchy biography of the author on the articles they have written.
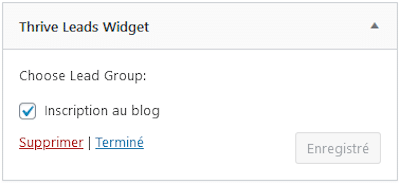
5. Thrive Leads and OptinMonster
I gather here the extensions Thrive Leads and OptinMonsterbecause both are similar and very popular. Both allow you to create custom forms and pop-ups, among other things. With their built-in widgets, you can very easily add to your sidebar a form to sign up for your newsletter, for example.
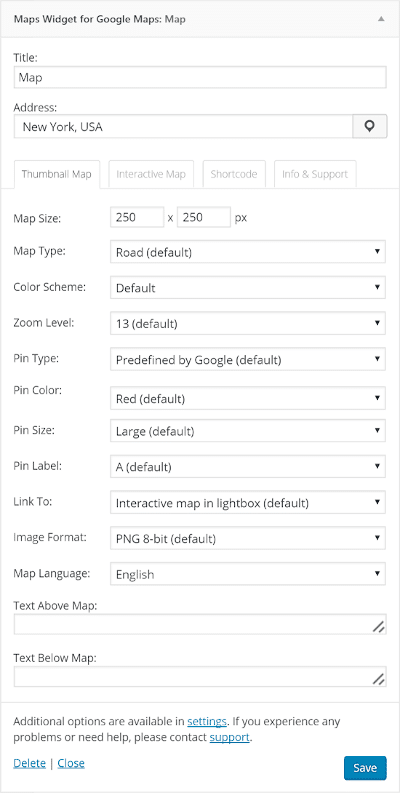
6. Maps Widget for Google Maps
Want to integrate a map into your WordPress site? Then you need Maps Widget for Google Maps ! Quick to install and configure, you’ll be able to insert an interactive map to your pages to help users locate you more easily if you have a store or physical offices for example.
To sum up
WordPress widgets are very numerous. Indeed, between the basic ones, the ones from the extensions directory and the ones included in the free or paid extensions, there is a lot to choose from!
This gives you a wide range of possibilities to customize your WordPress website and provide additional relevant content for your readers.
In this ultimate guide, you have been able to discover the widgets and their very easy management as well as the functionalities of the default widgets of the CMS and some others.
Now it’s up to you to test and choose the ones that will work best for your site and your readers!
Do not hesitate to give your impressions on this subject in comments or simply what you thought of this article.
See you soon!
Sources :

