Is your website displaying the annoying “not secure” label? To get rid of it, you just need to do a few small things. Indeed, Google and WordPress have been constantly encouraging owners to secure their websites. To do this, switching to HTTPS is one of the recommended measures. I will therefore show you in this article and in the video that accompanies it, the reasons and steps to follow to secure your website by switching from HTTP
to HTTPS. So follow.Securing your website
Today, I show you how to secure your website, by switching from Http to Https:
HTTP and HTTPS: what are they?
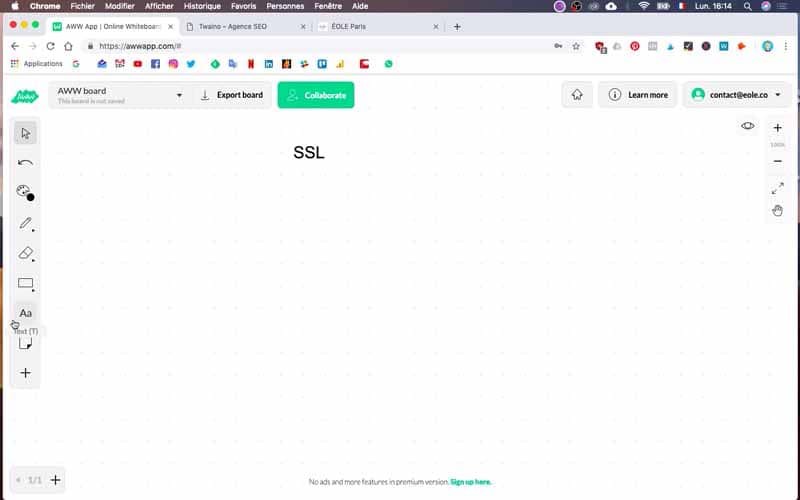
Before showing you how to secure your site, I’ll give you some details about these two acronyms. Well known by many people, the HTPP or “Hyper Text Transfer Protocol” is simply a protocol used by all websites to send and receive information.
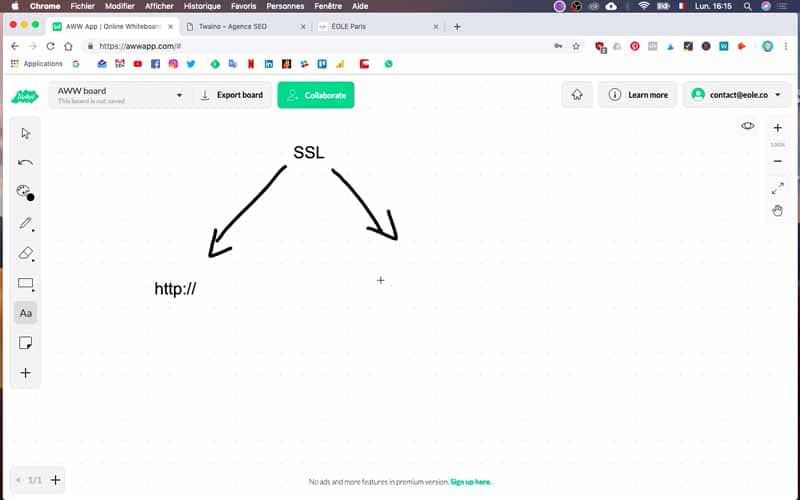
On the other hand, HTTPS or “Hyper Text Transfer Protocol Secure” is nothing but the secure variant of the previous one. In fact, this protocol benefits from the addition of a security layer as indicated by the “S” at the end of the protocol, which means “secure”.
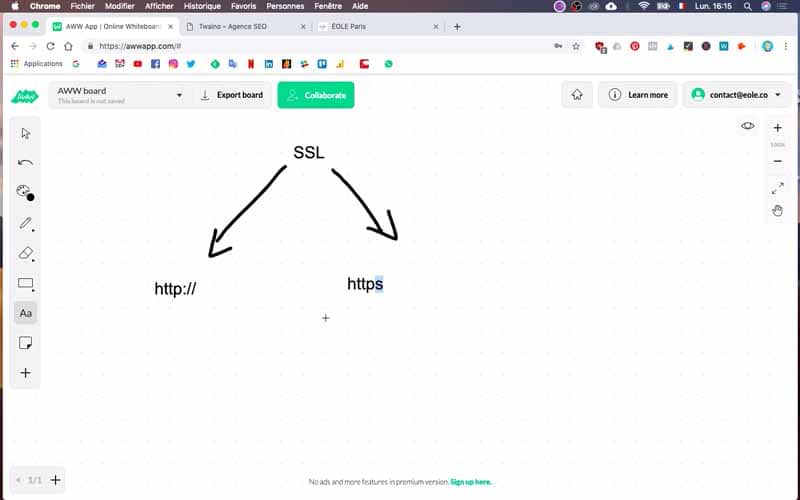
Note that this addition is done through a Secure Sockets Layer or SSL certificate in order to :
Encrypt the data or information exchanged between Internet users and your website. In other words, people or malicious software will not be able to intercept or steal emails, passwords and other sometimes sensitive data of your users.
Proceed to the verification of the validity of each website.
Secure website or not : how to know ?
To know if your website is secure or not, you just have to check the appearance of the padlock. The padlock is found in the browser, just before the mention HTTPS or HTTP that precedes your domain name or the name of your site.
When it is closed and followed by the mention HTTPS, it means that the site is secure. However, an unsecured site can be presented in two different ways. The first is to have a gray padlock with a red cross.
The second, and as is the case with my SEO Agency Twaino.com’s website, you will see a circled “i” with the words “not secure” followed by the domain name of your website. If you find that your site is not secure, I give you some reasons that will inevitably prompt you to secure it quickly.

Secure your site and switch to HTTPS: why do it?
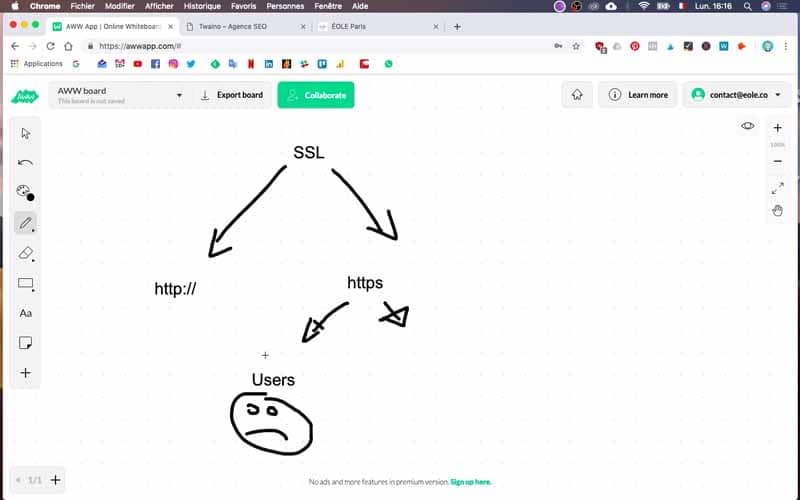
Since 2014, the American giant Google has been announcing that it would give a boost to secure sites. This has been effective since in 2017, a padlock is displayed for secure sites and the message “not secure” for sites in HTTP. This desire to promote secure sites has also been announced by WordPress, which reserves some features for them. Matt Mullenweg, the creator of the CMS, only mentions for the moment the limitation of authentications via API. There are no details yet on the schedule or the modalities of the other technologies that will be reserved for SSL. Hence the first reason to switch to https
.
To be better referenced and positioned by the Google algorithm
Google has already made it known that HTTPS
is now a factor taken into account by its algorithm in order to improve the ranking of websites. Therefore, your website is likely to be less well referenced in Google, if you have not switched to HTTPS.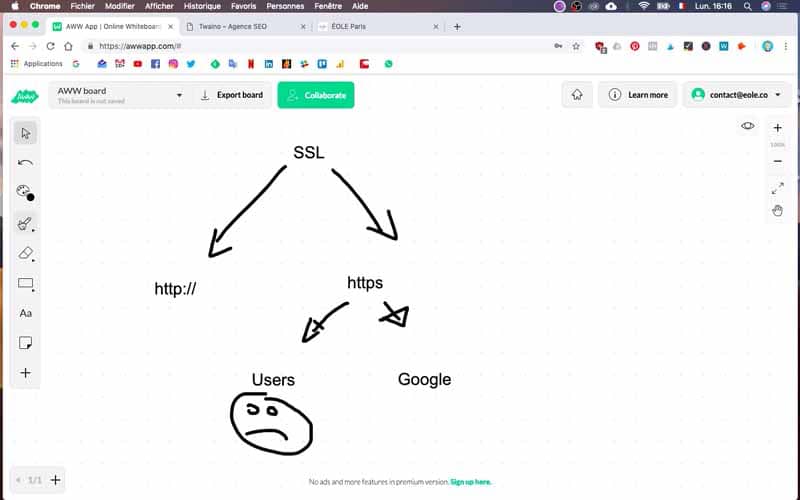
This is actually effective since as Dr. Peter J. Meyers reported in April 2017, more than 50% of the storefront sites found on the first page of Google results are in HTTPS. Yet, these were only about ⅓ of their number.
Therefore, I recommend you to quickly switch to HTTPS to benefit from good SEO. This is materialized by the fact that sites that have not migrated to HTTPS are increasingly losing their place in search engine results.
Protect the information of Internet users and your customers
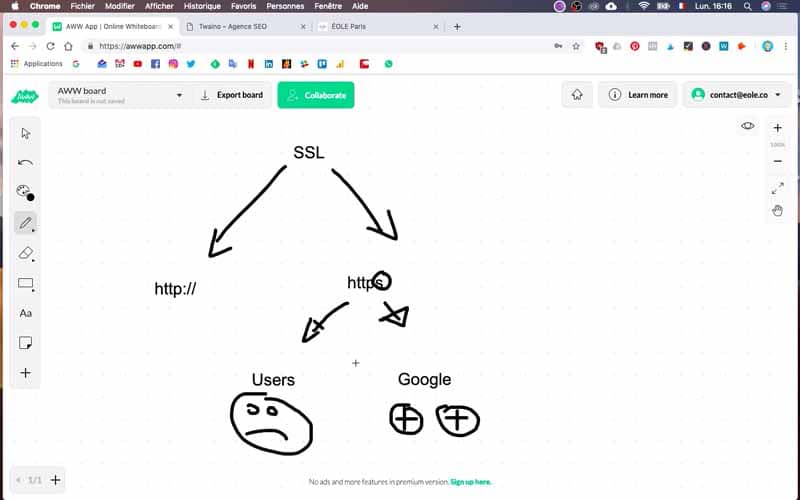
With the HTTPS
protocol, data exchanges are secure and passwords, emails and customer data on a questionnaire are much less easy to intercept. In addition, malicious software or malware are greatly slowed down in their propagation, which also allows to secure the web in a general way.Avoid having a “Not secure” label on your website
Drastic measures have been taken by Google in particular to encourage the rapid transition fromHTTP
to HTTPS. Indeed, when Internet users click on the padlock, they will be automatically alerted with the message “connection not secured”.Note that this message can be found on Google Chrome as well as on Safari, Firefox, etc. When visitors get this message, they are more likely to flee your website, or at least have a feeling of distrust towards it. Therefore, an element likely to impact you enormously since many Internet users will not even bother to know your services or products.
A free SSL certificate opens HTTPS access to all
The companies that offer web hosting and give domain names make great offers for the purchase of certificates to migrate a site to HTTPS.
However, organizations like Let’sEncrypt supported by giants such as Facebook, Mozilla, OVH, Siteground (my host) …, offer these SSL certificates for free. This is a big revolution since it costs about 100 € monthly depending on the level of assurance and security desired.
With all these conditions, it is normal that the HTTPS
protocol is quickly imposed to all. But before moving to this change, I reveal the implications of such an action.What is involved in switching from HTTP to HTTPS?
It is perfectly legitimate to ask yourself if it is possible to do the migration by yourself. Indeed, you can do it without the intervention of a specialist, especially if your website is still in its infancy.
But in the case of a complex website with a large amount of content, it would be better to use a technician especially if you are not familiar with the handling of the components of your website.
I draw your attention to this because even if switching to HTTPS is quite simple, you may have to perform some actions that may be likely to damage your site if you lack technical knowledge. Indeed, leaving HTTP for HTTPS
is like moving your site with a change of URL.This is the case of Google Search Console which treats the two protocols separately. Therefore, some actions may become necessary when you switch to HTTPS, as Google well indicates.
So I give you in general some of these operations before giving you the steps to actually secure your site. I distinguish among others :
- Get the right SSL certificate. your web host will be able to help you choose the right certificate among the three categories: simple, generic or multi-domain.
- Make a full backup of your site in order to be able to go back;
- Update the code libraries including Ajax and JavaScrip without forgetting the plugins;
- Make the configuration of internal links to go to HTTPS instead of HTTP;
- Make a page by page implementation of 301 redirects;
- Redirect all external links you have under control to HTTPS:
- Update SSL settings, if you are using a content delivery network (CDN).
- Make the configuration of your site HTTPS in Google Analytics and Google Search Console by taking care to transmit again your sitemap.
For small websites, some actions are not necessary like updating code libraries and CDN. But for a complex site, you may need to hire a webmaster to successfully complete the steps that follow the switch from HTTP to HTTPS.
If you are ready, then let’s go through the different steps.
Switching from HTTP to HTTPS step by step with my Site Ground host
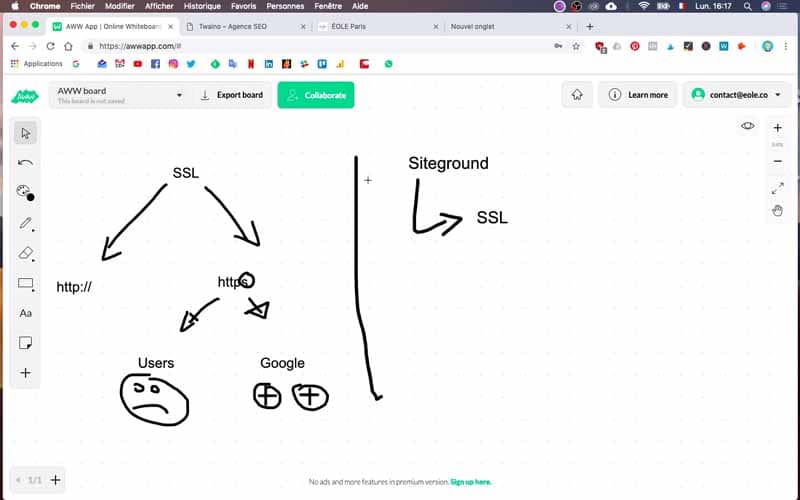
To show you step by step how to make this conversion, I will use the case of my SEO Agency’s website, Twaino.com. Note however that all the steps are also presented in my video. In order to make this conversion from Http to Https, I will use the “let’s encrypt” service offered directly by my hosting company SiteGround. This is the simplest method from my point of view.
1) Go to your hosting site
In the case of my website Twaino.com, I opted for the Siteground hosting company, a hosting company that I particularly appreciate for its reliability and efficiency.

2) Log in to your account
Once on the site of your host, connect to your account using your login and password.

3) Go to “My Accounts
In the navigation menus of your web host’s site, click on “My Accounts”.

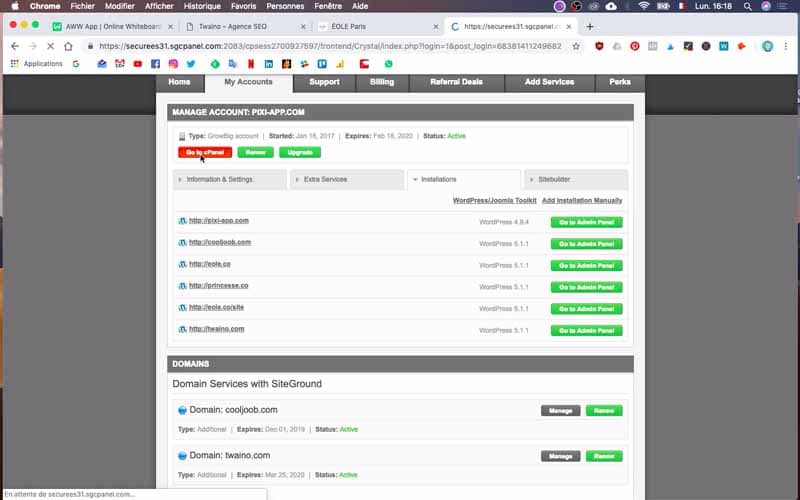
4) Click on “Go to cPanel
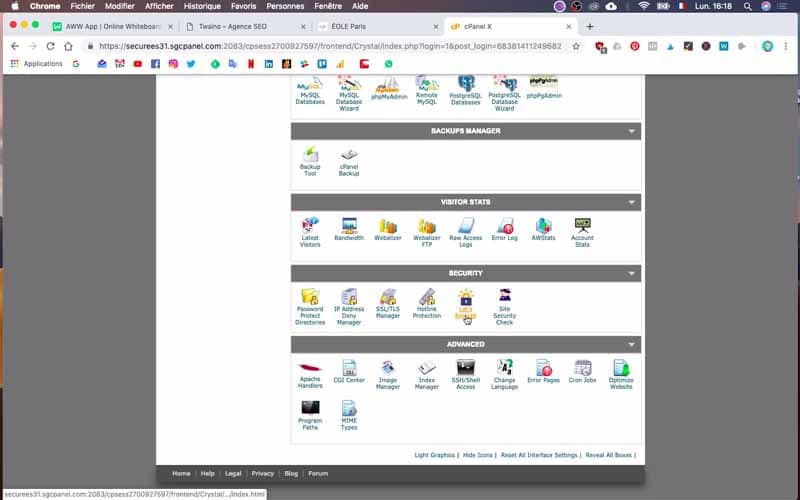
After the previous step, you will have a new page where you will click on “Go to cPanel”. On the next page, look for the “Security” option. This one is almost at the bottom in my case.
5) Go to “Let’s Encrypt
In the “Security” option, you will find “Let’s Encrypt” symbolized by a small padlock which you will click on. On the next page, scroll down to “Install new Let’s Encrypt Certificate”.
6) Choose your domain
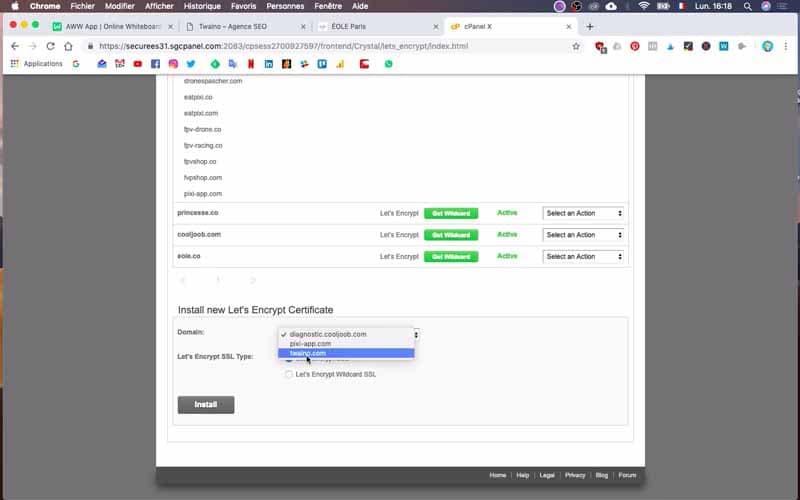
At the “Install new Let’s Encrypt Certificate” level, you will find “Domain” which offers you a selection menu. In the list that appears, choose your domain name or the name of the website you want to secure.
For my website, I choose the domain Twaino.com.
7) Check the “Let’s Encrypt SSL” option
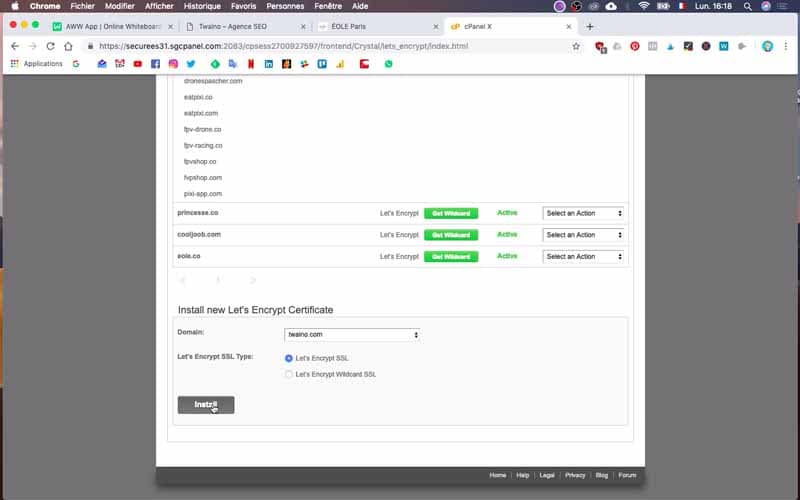
After choosing the domain name of your website, you will find at the bottom of “Domain”, “Let’s Encrypt SSL Type”. At this level check “Let’s Encrypt SSL”.
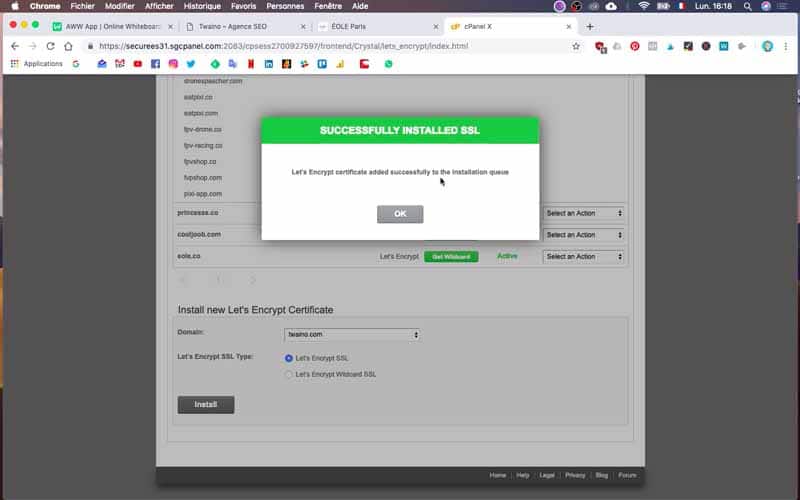
8) Click on ” Install ”
After having checked the previous option, click on the button ” Install ” which is just below. This installation is done in a few seconds and you will validate by ” ok ” at the end of the operation.
9) Refresh the page
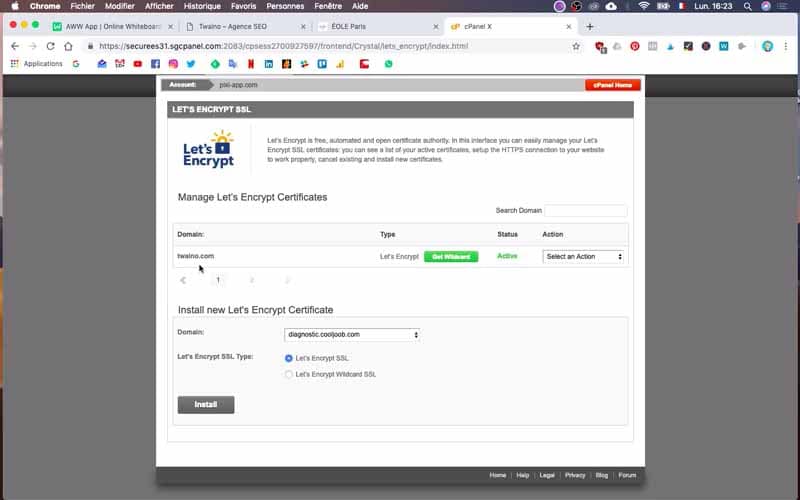
Once the installation is complete, refresh the page to see your domain name appear in the list. Please note that it may take a few minutes for your domain name to appear.
For my Twaino site, I waited about five minutes to get the information. Then, before the “Install new Let’s Encrypt Certificate” part, you will find the page numbers and you will select the second one. Depending on the interface you have, you may not need to go to a second step. Nevertheless, you will find on this page the name of your site. For my website, I find Twaino.com.
10) Section “HTTPS setting
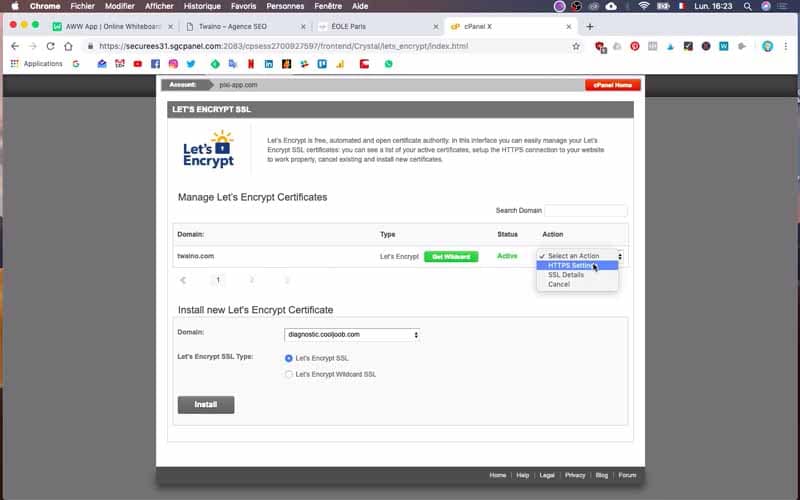
On the same page and on the right, you will see “Action” which allows you to choose between :
- HTTPS Setting
- SSL Detail
- Cancel
Opt for the first option which gives you access to a dialog box.
11) Enforce HTTPS
Activate “HTTPS Enforce” by setting it to “ON”.
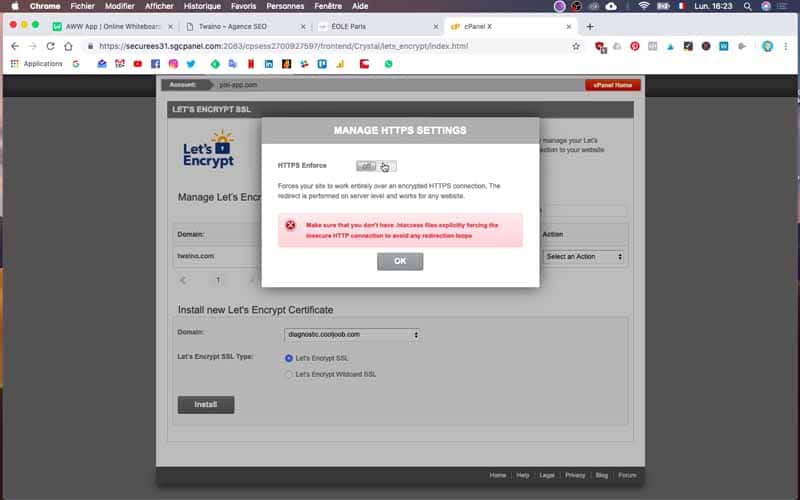
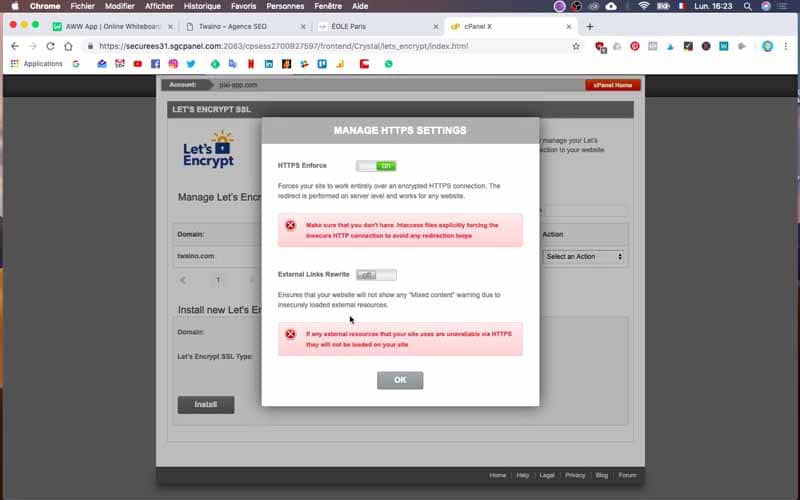
Do the same with “External Link Rewrite” and set it to “ON”.
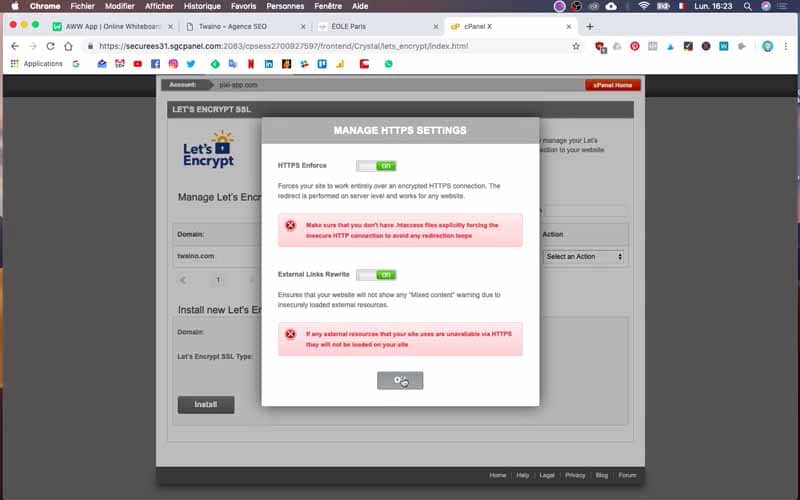
12) Go to your site
After finishing the configurations, go to your website and refresh the home page. You will see that the padlock will automatically appear, as well as the HTTPS.

You have just switched from the http protocol to the HTTPS
protocol and on all your pages, you have the HTTPS installed.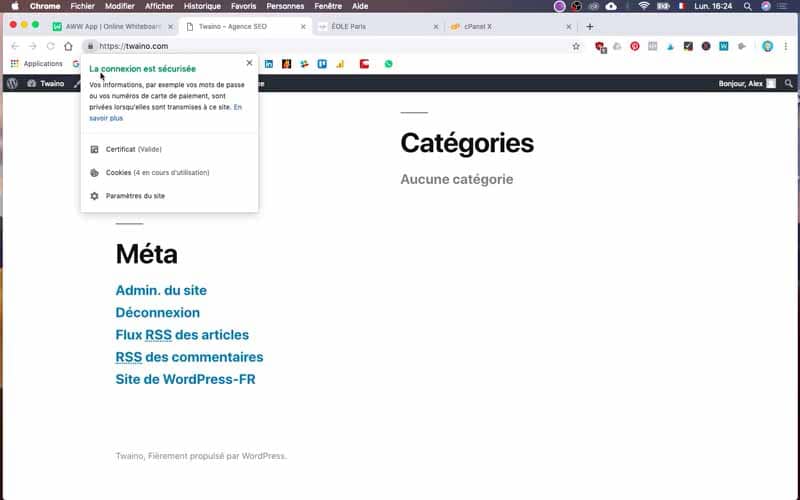
Note however that during the re-indexation of your site by Google, your traffic to your website may or may not drop. But in the end, you will benefit from a good natural referencing by Google and your visitors will have much more confidence when browsing your site.
In conclusion
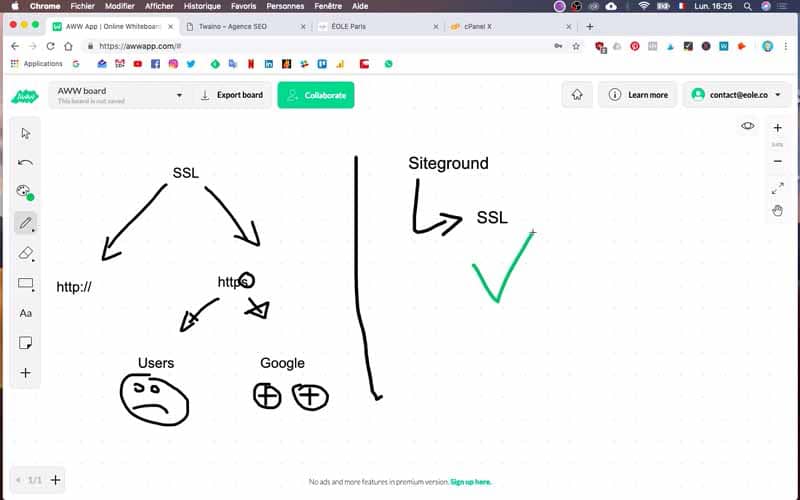
If your website is not yet secured, think as soon as possible about switching from HTPP to HTTPS. Indeed, securing your site shows the respect and the attention that you pay to your customers as well as to your partners. You will therefore be able to gain their trust much more easily. Moreover, on the medium / long term, the passage of your website from HTTP to HTTPS will have virtuous consequences on your natural referencing insofar as Google privileges in its algorithm the websites which made the effort to secure.
See you soon.

