today, I will show you how to create an email address for your blog or business using SiteGround…
Create a professional email…
Today, I present you in this video the different steps to create an email for your blog or your company from the host siteground :
The email: Still an indispensable tool
Indispensable, email is a privileged means to be contacted. Thus, it is important when setting up a company, to have an email address associated with the name of your company.
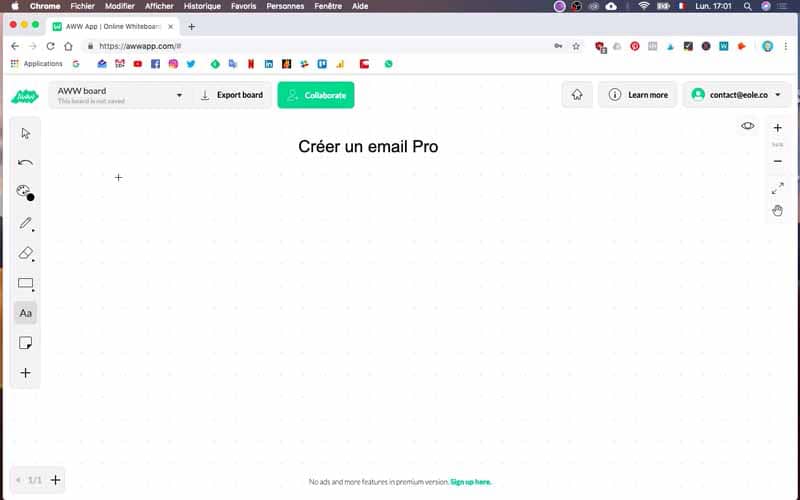
Affirm your branding with a corporate email
This reinforces both the professional side, but also the branding of your brand. That’s why I’m going to show you how to create a professional email using SiteGround hosting. Indeed, as you know, I will create my website Twaino, using SiteGround hosting. When you subscribe to their services, you will have the possibility to create as many professional emails as you want.
Creation of contact@twaino.com
My SEO agency is called Twaino, therefore I have a website www.twaino.com on which I want to work to gain visibility. The idea for me is to get a professional email on which people interested in my SEO service will be able to reach me. So, I want to create an email address
in the following format:- contact@twaino.com
- prénom.nom@twaino.com ; example: alexandre.marotel@twaino.com
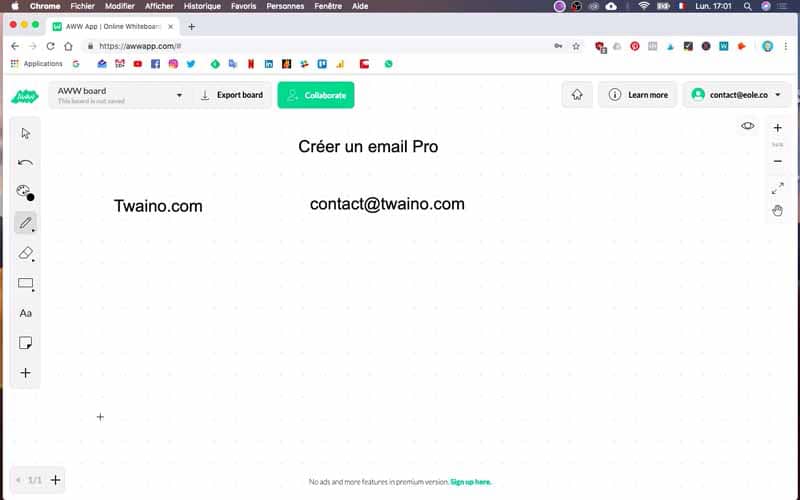
Create an email with SiteGround
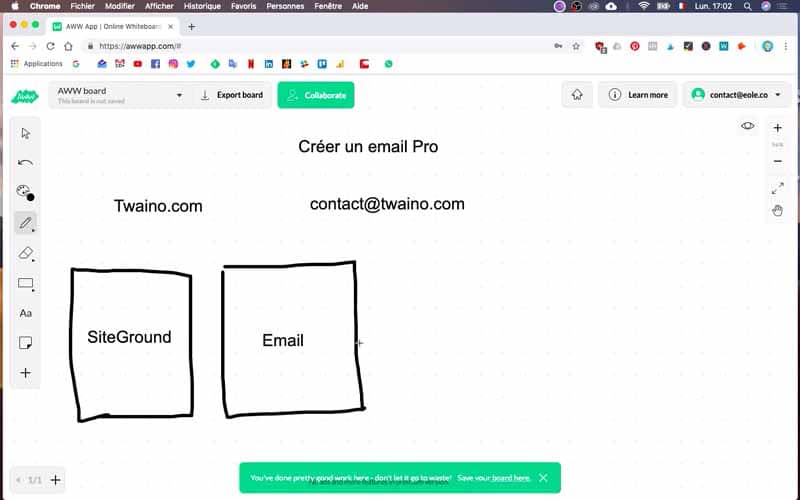
The two tools to check your emails
Webmail
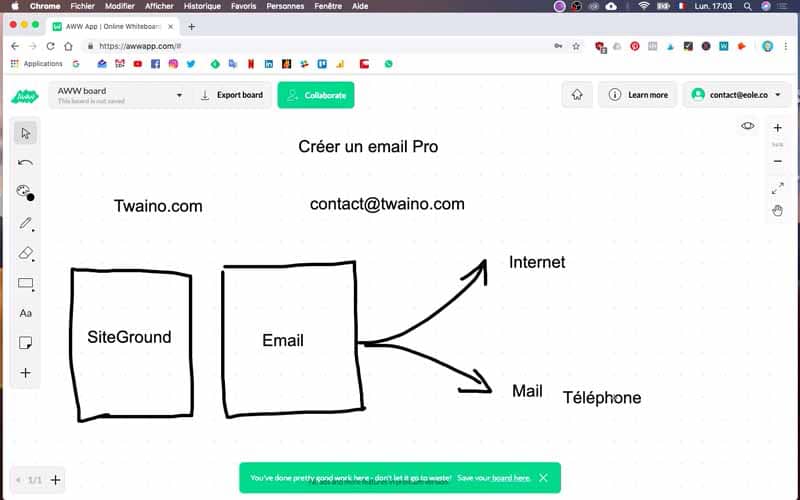
First of all, I’m going to go to SiteGround, there is a possibility, there is a module that allows you to create this email. And so, this is what I will show you now. Knowing that in the emails in fact, there are two possibilities. The first possibility is in fact the fact that your email is accessible from everywhere, for example from the Internet in a general way, so this is what we call webmail.
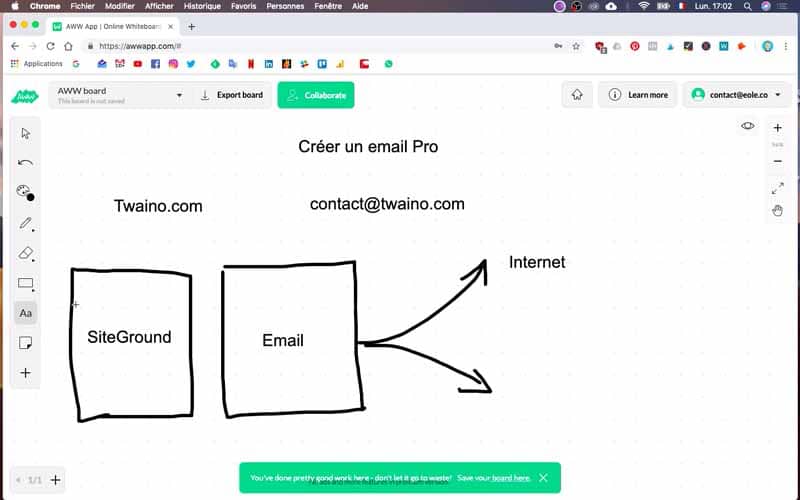
From your computer/phone mailbox
And the other possibility is that it’s accessible from your mail application, here for example on your on the macbook pro on the mac. But it will be exactly the same type of setting for the phone as well. So that’s exactly what I’m going to show you now.
1) Connect to SiteGround
So first step SiteGround. So, we go to login and we connect.

2) Go to “My account
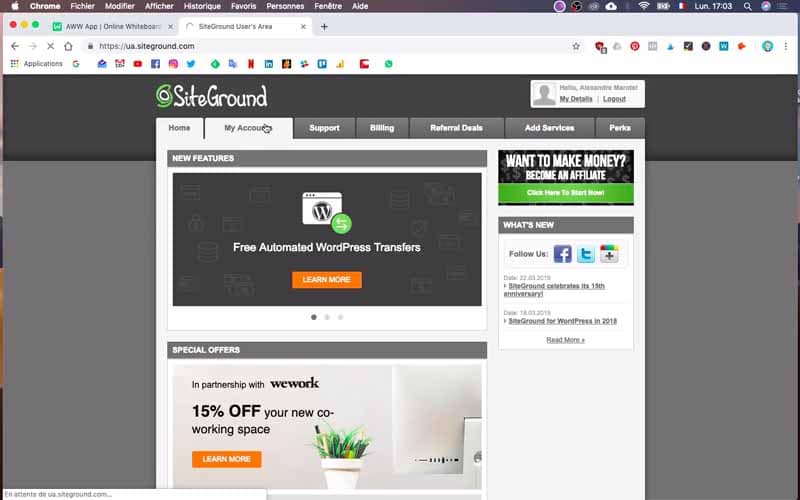
Then we go to “my account”.
2) Go to “CPanel
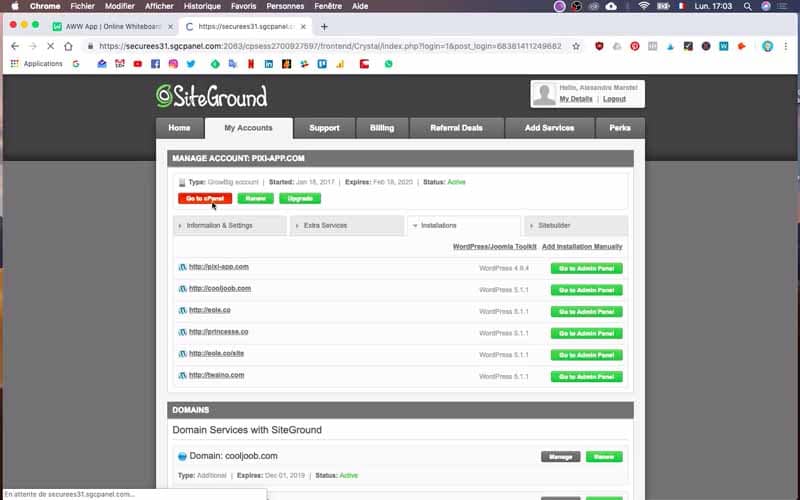
Then we go to “go to cpanel”.
5) Select the “Email account” application
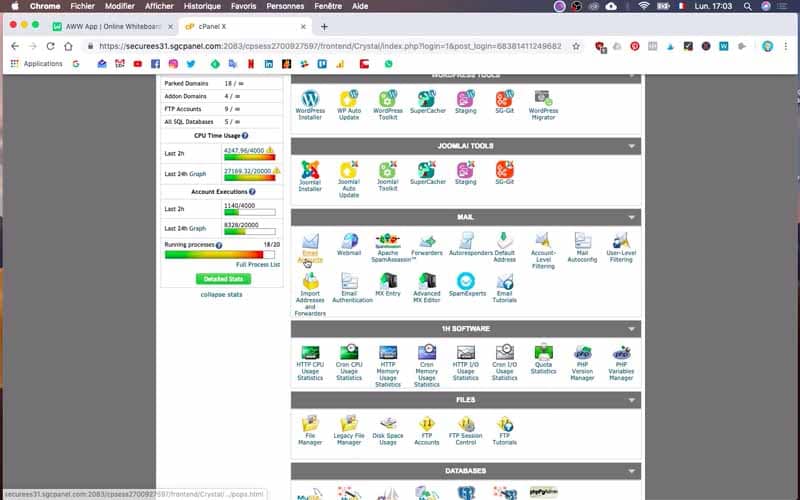
Then you will go down, and you will find a part called mail which contains an application “email account” on which you will click.
6) Choose your email
From “email account”, you will type the email you want to create. In my case, I first type “contact”, then @ and then you go to search your site, for me twaino.com. I will get the following email: contact@twaino.com.
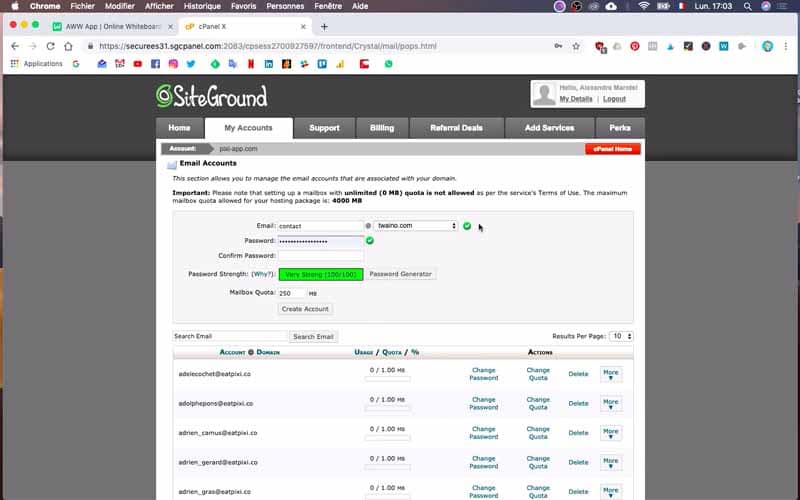
7) Set quotas and password
So next, you will enter the password you like. Obviously the stronger the password the better. If you don’t have any idea you can generate a password directly here. Once it is done you can press “create account”, you can also increase the quota so typically depending on your formula on siteground, you can have more or less spaces on your email.
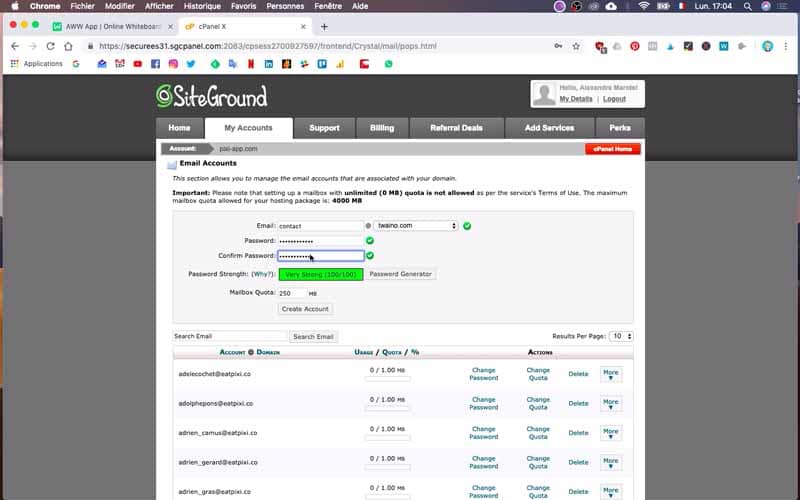
8) Check the confirmation of creation
So there you go, the account was created correctly.
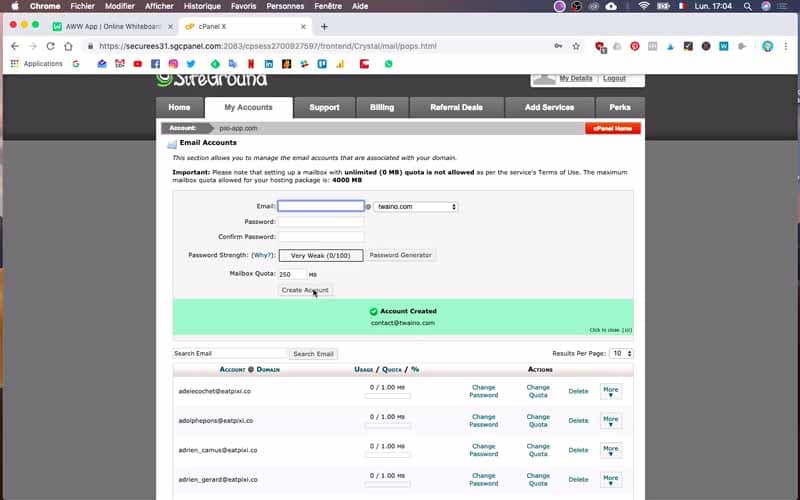
9) Access via Webmail
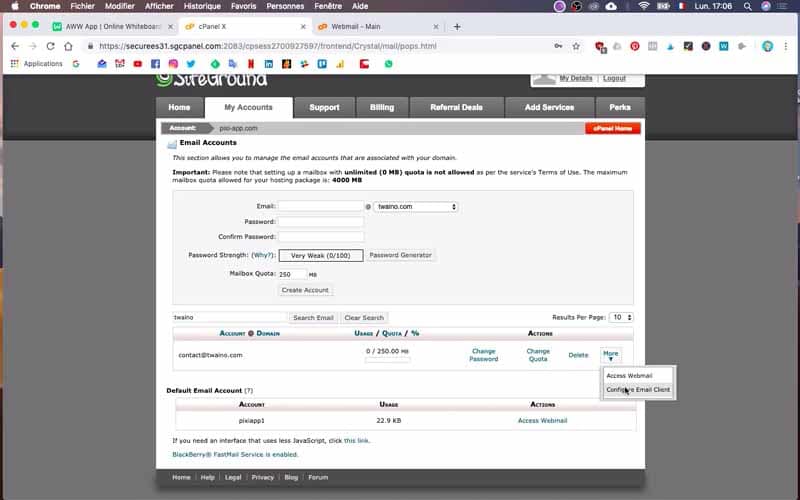
Now I’ll just look for contact@twaino.com and so, if ever. You can change your password, you can also change the quota and when you press. You have two options, so either access via web mail or configure for the email application, so that’s exactly the two options that are that are here. So I’ve already shown you first of all access via web mail.
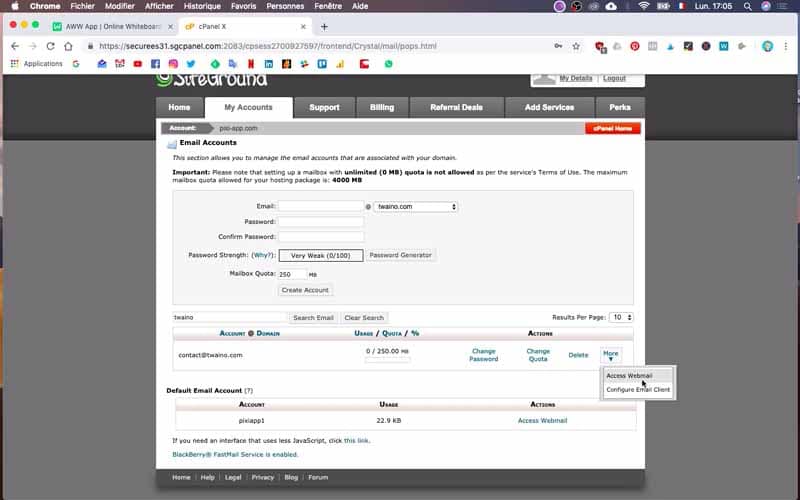
10) Choose your webmail interface
So here to have access via webmail, you can use three types of interfaces. Me, I advise you this one.
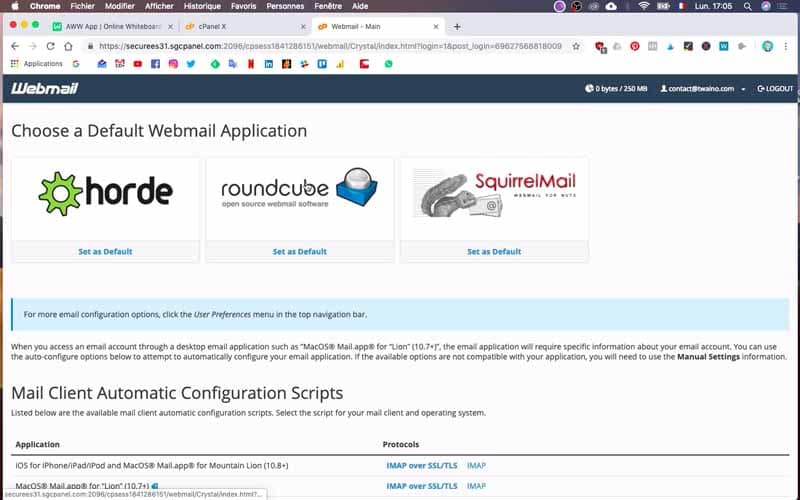
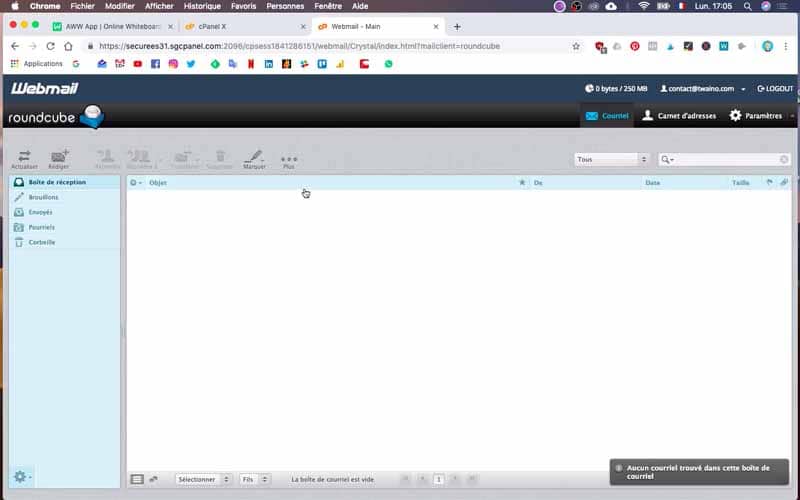
11) Check the functioning of the Webmail
and now your email address is working.
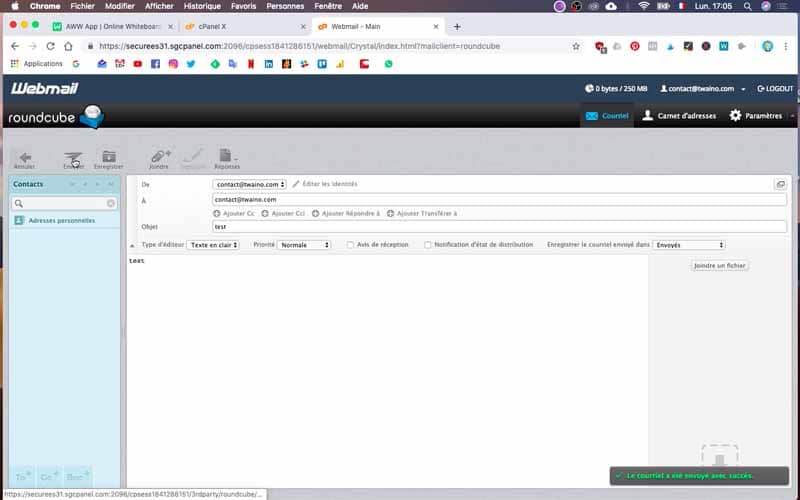
12) Make a test of sending email
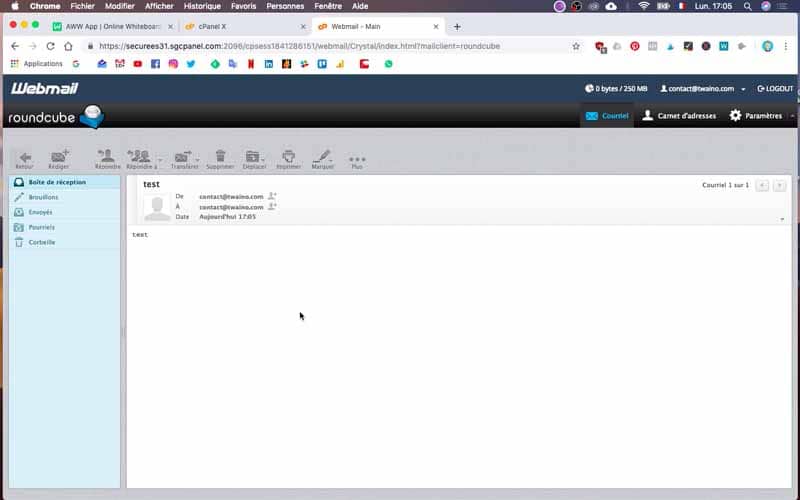
So for this we are going to make a small quick test, so contact@twaino.com. “test” “test” Send.
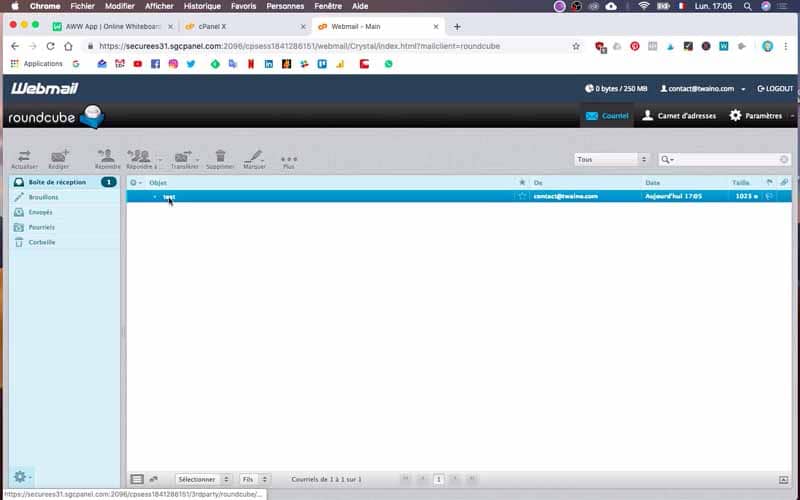
13) Verify email reception
You see here, your first email that you are sent up will be here.
14) Set up on computer and phone
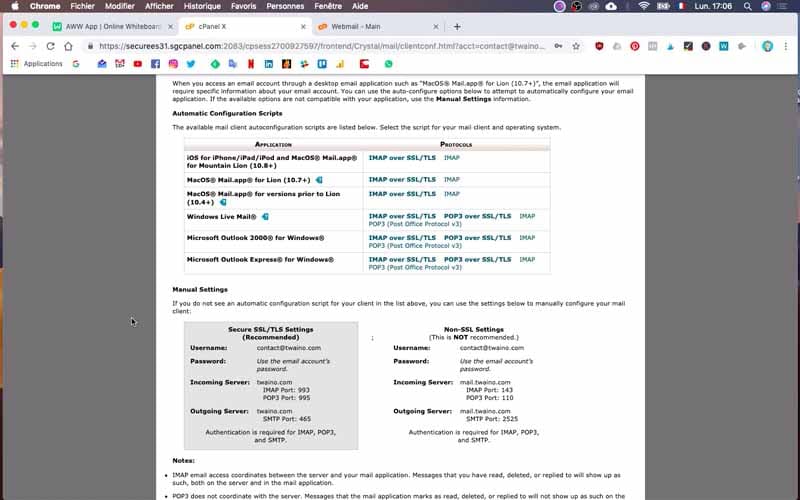
So once it works via webmail, what we’re going to do is we’re going to configure for the application. To do this, you will launch your mail application.
15) Add an account
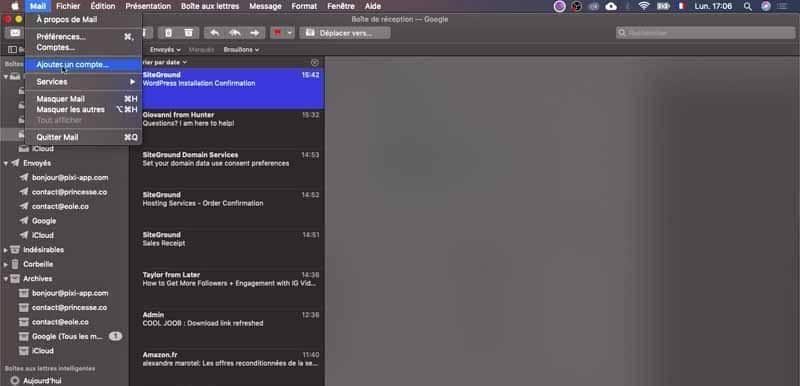
Next, you will click on “mail” “Add an account”
16) Other mail account
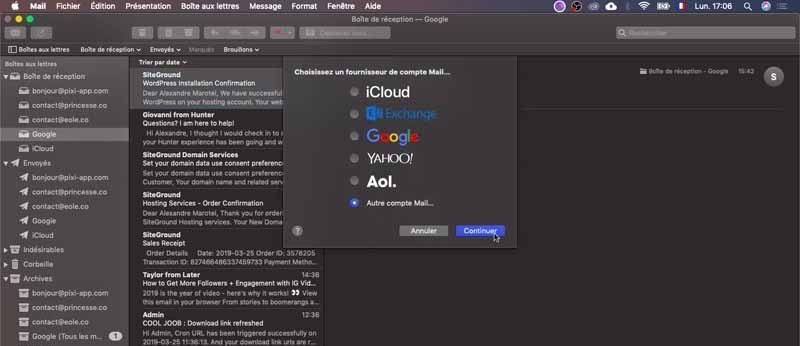
“Other mail account” => “Continue
17) Fill in the basic information
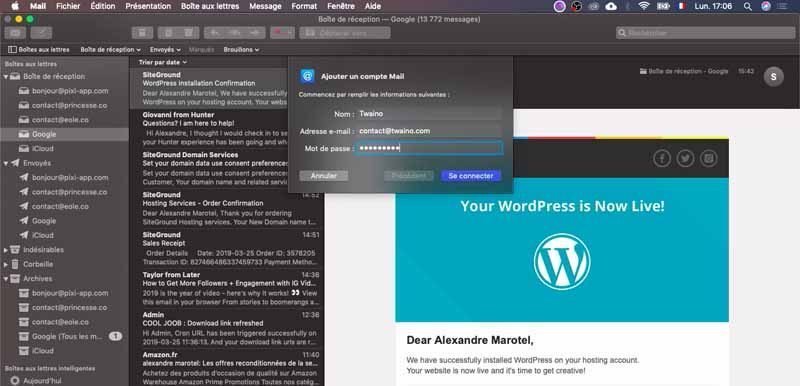
I will fill in this part the name: Twaino; as well as the email address: contact@twaino.com and then the password that I had indicated earlier in siteground.
18) Indicate the information “Incoming Servers” / “Outgoing Server”
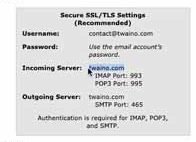
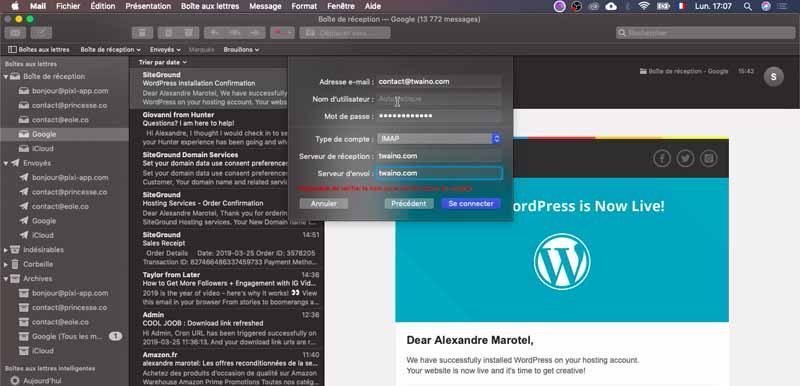
Next, you will need to fill in the “incoming server” and “outgoing server” fields with the information from SiteGround. For me, this is “twaino.com”.
18) Indicate the information “Incoming Servers” / “Outgoing Server”
“Connect” here we don’t need to activate the notes. So we’ll put finished.
19) Select the “Mail” application
Your “Mail” application will ask you to choose the applications you want to synchronize. To do so, you can select “Mail”.
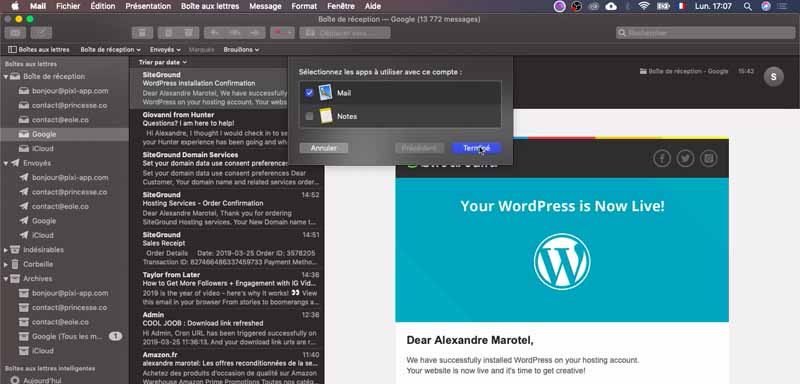
20) Check that everything is working properly
Once these steps are completed, you will be able to see your email account available. In my case, as you can see on the image below, the Twaino account is present and synchronized. Indeed, the email sent from the webmail is also present on the computer application.
So it works perfectly well!

Conclusion:
So I have shown you what I think is the easiest way to get an email address from your SiteGround hosting. I hope that this article has been clear and that you have been able to create an e-mail using the different steps I have shown you. Now it’s up to you to take action. See you soon…


